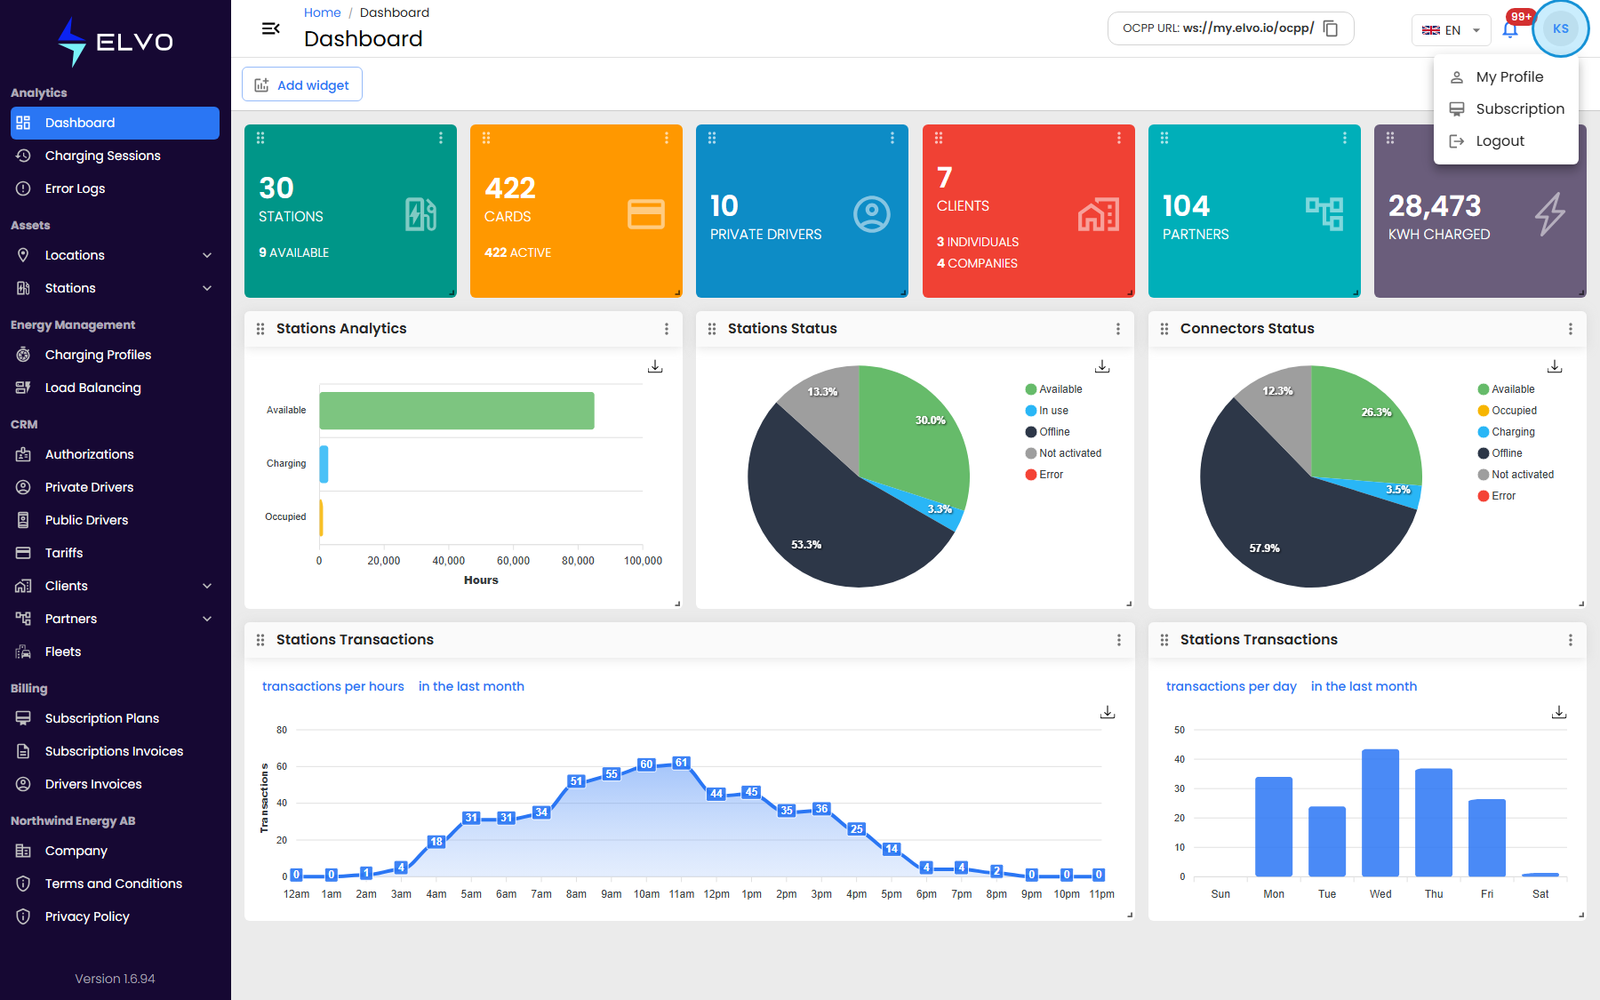
Reaching the login page
Open your tenant’s URL in a browser. The exact hostname depends on your
operator — it is the address your administrator sent you when your account
was created. The login page is served at /auth/login under that hostname.
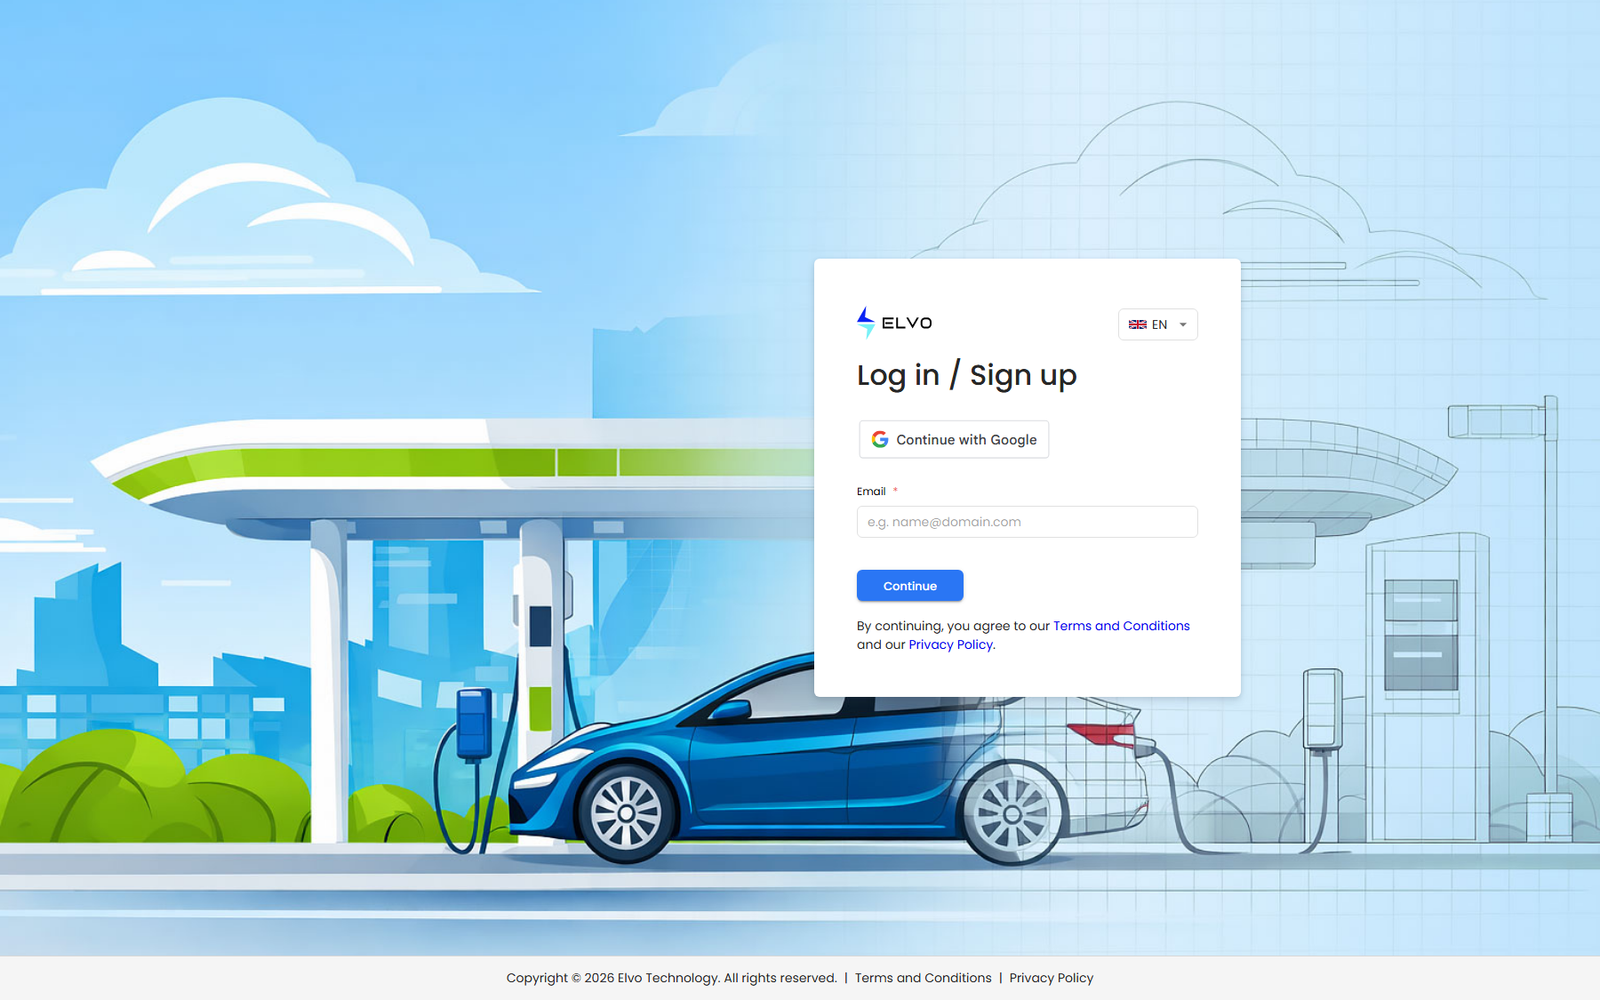
The form first asks for your email address. Enter it and confirm.
No account yet? On my.elvo.io you can create one yourself: enter
your email address on this same page and follow the steps in section
18.3 Self-registration (email code, then a short onboarding wizard for
your personal and company details). On white-label domains there is no
self-service sign-up — ask your administrator for an invitation.
Email and password sign-in
If your account has a password set, the form expands and shows a Password field. Enter your password and confirm to sign in.
The form does not separately ask whether to keep you signed in — the platform extends the session automatically and stores it in your browser. Closing and reopening the browser does not, on its own, sign you out.
If your tenant has not yet given you a password, the form may instead ask you for a 4-digit code that the platform emails to you on demand. Enter the code from the email to sign in. (See Document 3 §1.1 for the technical distinction between password and code logins.)
Two-factor authentication
If your administrator has enabled two-factor authentication for your account, the platform asks for a verification code after you submit your password. Enter the 4-digit code from your email.
If you do not receive the code within a minute, click Resend code on the same screen to request a new one.
This manual does not cover enabling or disabling 2FA; the only 2FA UI currently in the platform is the prompt that appears at sign-in.
Google sign-in
On my.elvo.io the login page also offers Continue with Google, above
the email field. It signs you in with the Google account you pick: if a
platform account with that email already exists, you land on its Dashboard;
if not, a new account is created for you on the spot, with the same result
as self-registration (see section 18.3). White-label tenants do not show
the Google option — email-plus-code (or email-plus-password) sign-in is
the only path there (see section 18.1 for the full email-code flow).
After login: the Dashboard
The default landing page after sign-in is the Dashboard. The Dashboard shows a draggable grid of widgets — KPIs, charts, and tables aggregating the infrastructure visible at your tier (see Part 1 for full details).
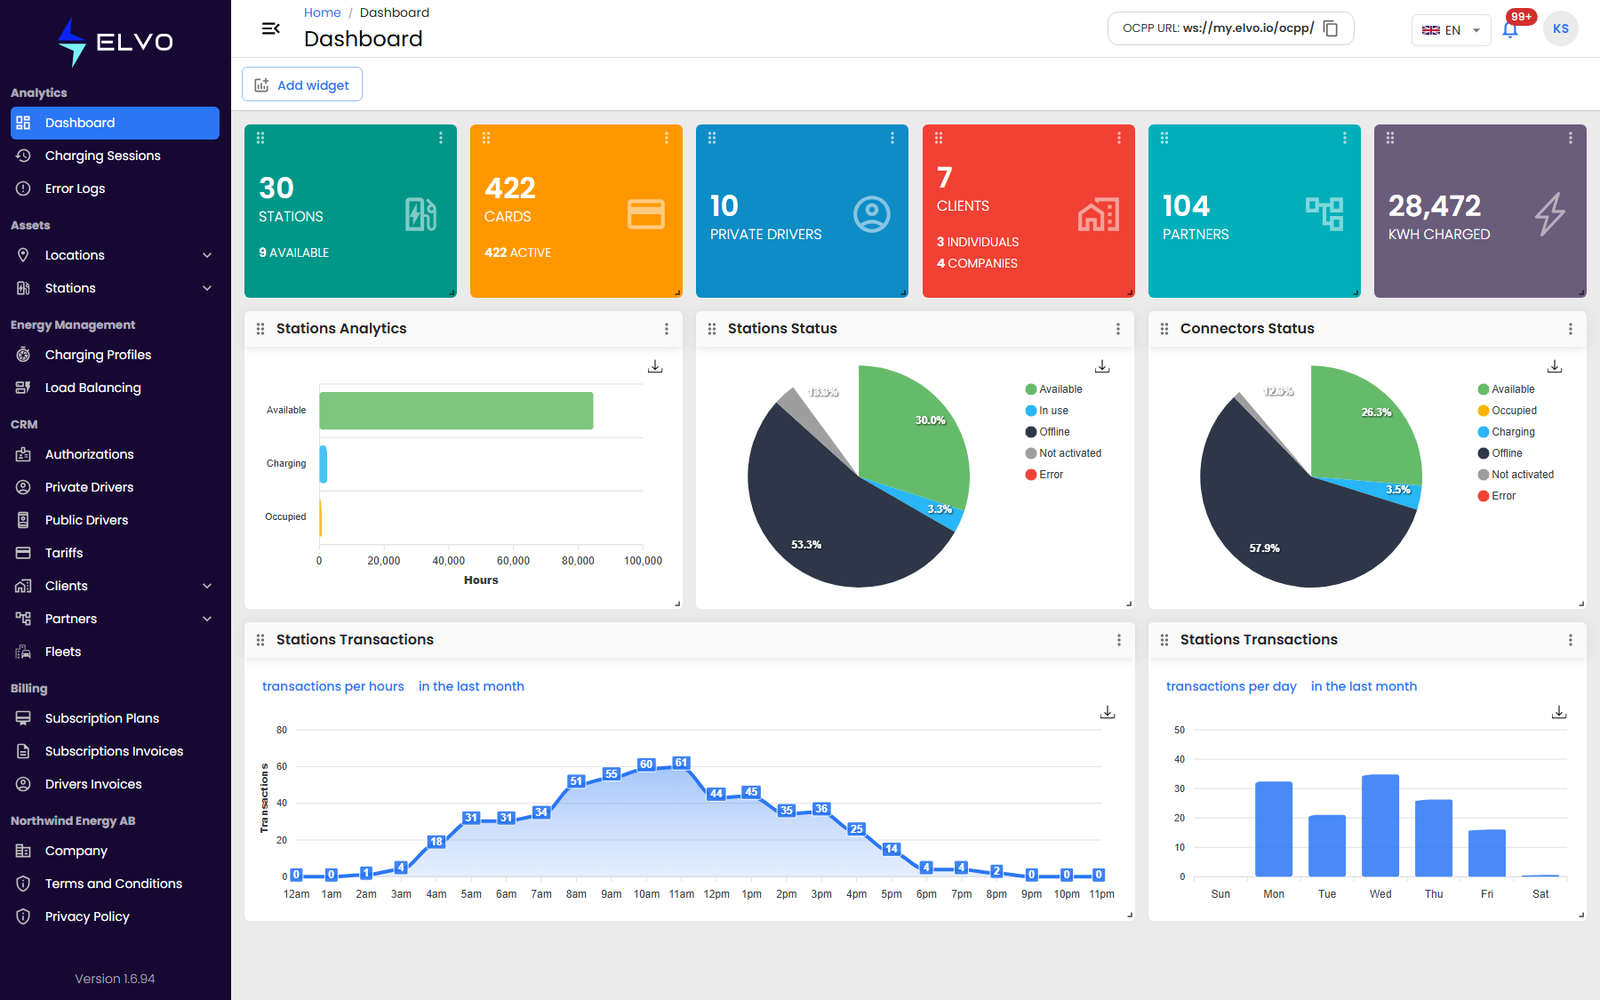
If you had been working in another area before your session expired, the platform may instead return you to the last page you visited.
Sidebar navigation
The vertical strip on the left of the screen is the sidebar. It is the main way to move between areas of the platform. The sidebar groups features into a small number of categories — Analytics, Assets, Energy Management, CRM, Billing, and Company — and lists the available items inside each.
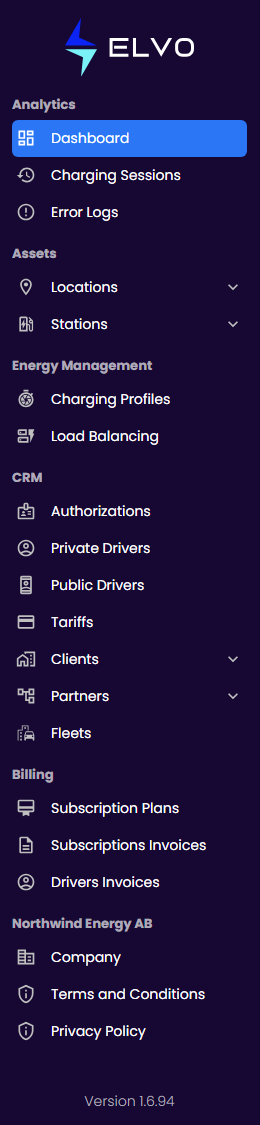
The exact items visible to you depend on your tier and role; a Client user sees fewer items than an Enterprise user, and a superauditor user sees read-only versions of the items their write-capable peers see (see section 19.2).
For details on each area:
- Analytics — Dashboard (Part 1), Charging Sessions (Part 2), Error Logs (Part 3).
- Assets — Locations (Part 7) and Stations (Parts 4 and 5).
- Energy Management — Charging Profiles and Load Balancing (Part 9).
- CRM — Authorizations / RFID Cards, Drivers, and Tariffs (Parts 10 to 12); also Clients, Partners, and Fleets.
- Billing — Driver Invoices and Subscription Invoices (Part 15).
- Company — your tenant’s own settings (Part 16).
Header bar
The horizontal strip at the top of the screen is the header. From left to right it contains:
- A toggle to collapse or expand the sidebar.
- A breadcrumb showing where you are inside the platform.
- A copy-able OCPP URL chip — the WebSocket endpoint your stations connect to.
- A language selector for switching the interface between the nine supported languages (selecting a language reloads the page).
- A notification bell with an unread-count badge.
- Your profile avatar, which opens the profile menu.

The profile menu
Click your avatar on the right side of the header to open the profile menu. The menu contains two items:
- My Profile — opens
/my-profile, where you can view and edit your personal details and change your password (see section 19.4). - Logout — signs you out of the platform and returns you to the login page.