Moving and resizing widgets
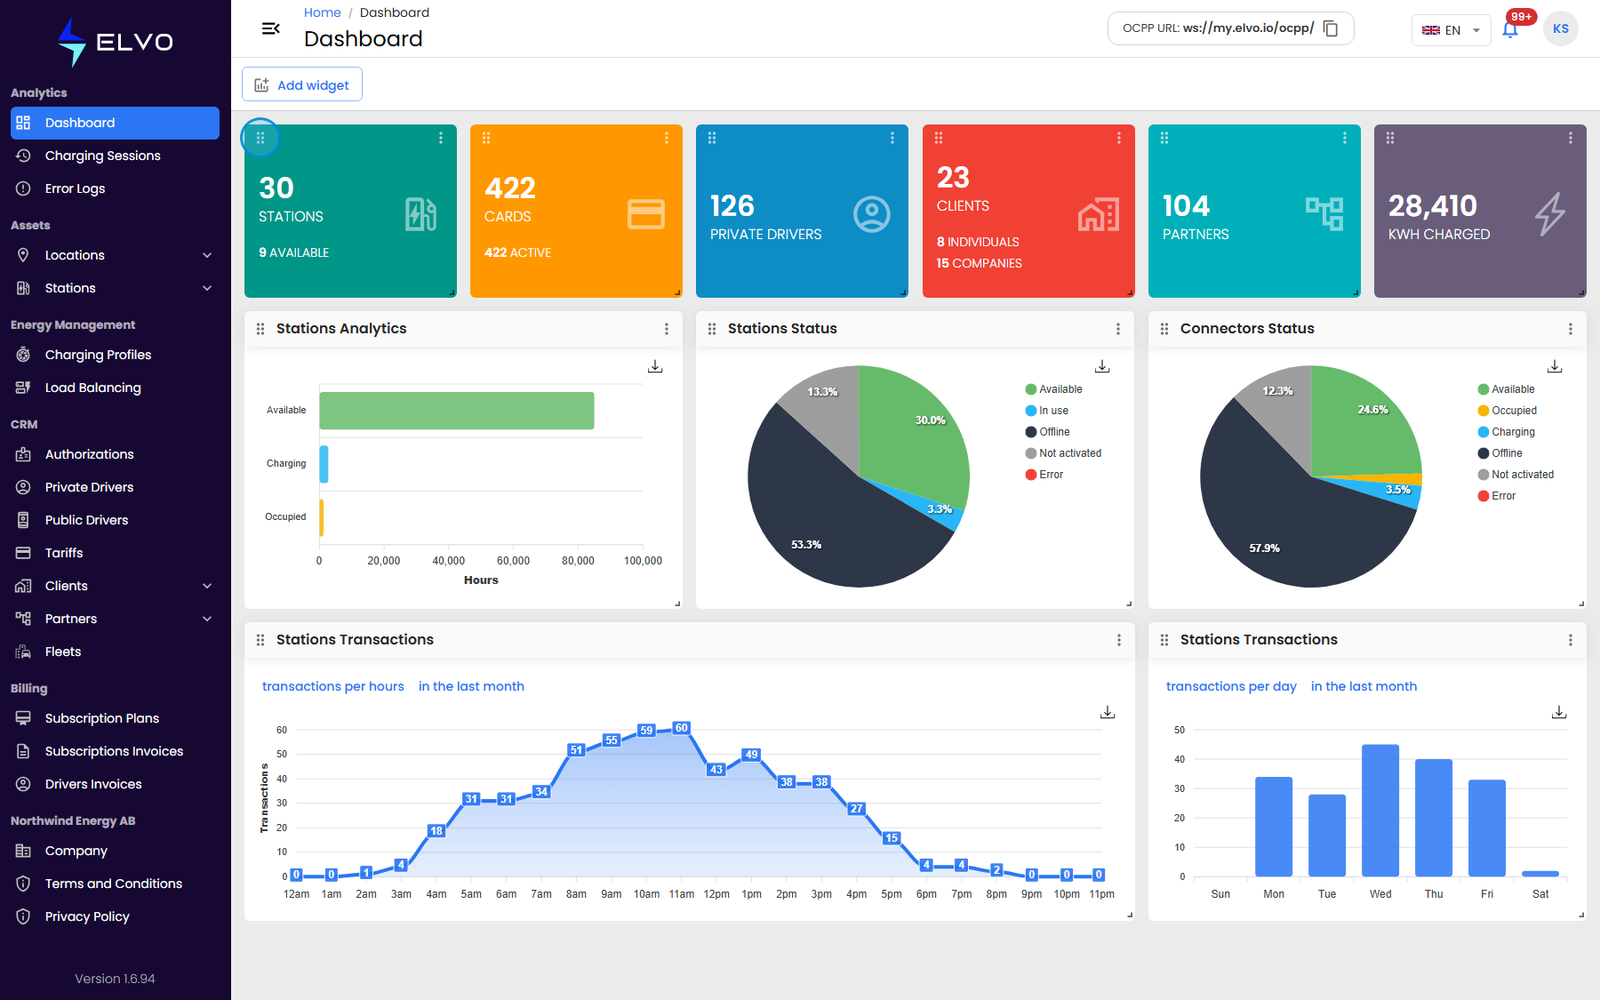
Each widget has a drag handle in its top-left corner. Click and drag it to reposition the widget anywhere in the grid. Widgets can also be resized to fit your preferred layout.
The More Options menu
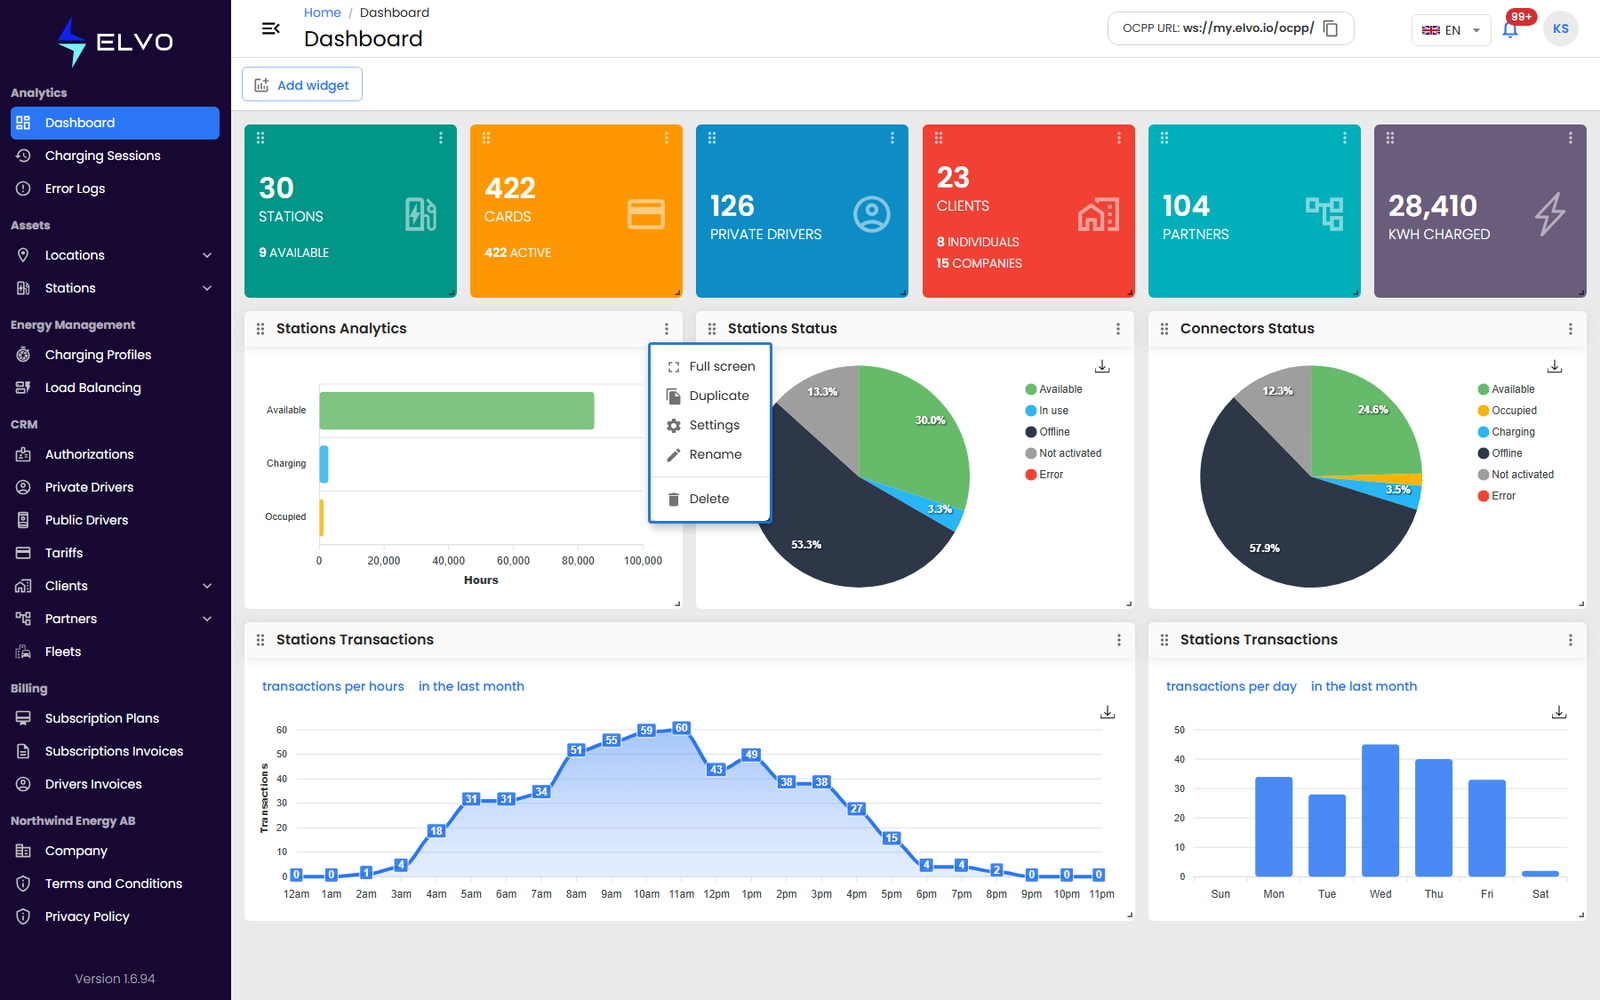
Click the More Options icon (three dots) in a widget’s top-right corner to open its menu. On report widgets the menu offers:
- Full screen — maximizes the widget for a detailed view
- Duplicate — adds a copy of the widget to the grid
- Settings — opens the widget’s configuration dialog
- Rename — edits the widget’s title inline
- Delete — removes the widget (see section 1.4)
Count widgets (the single-figure KPI cards) offer only Delete in this menu.
Widget settings
Settings opens a dialog where you can change how the widget displays its data. For chart-based widgets, this includes switching the chart type between line, area, column, bar, and pie.
Exporting a widget
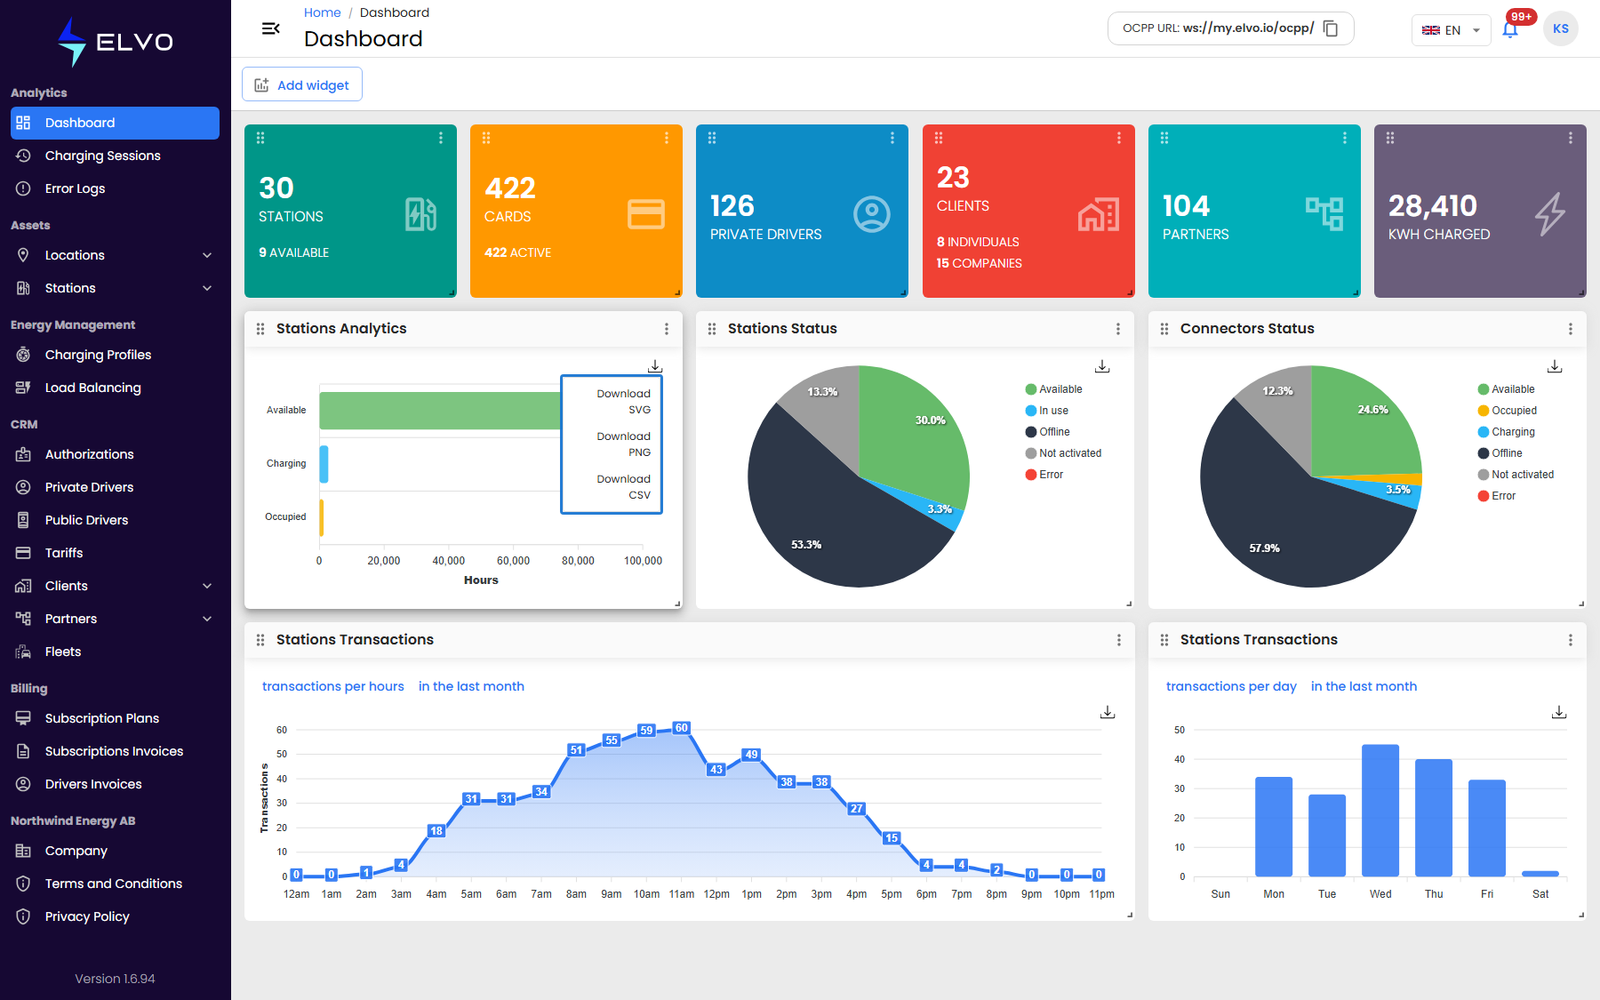
Click the download icon in a widget’s top-right corner and choose a format:
- SVG — vector graphics
- PNG — image
- CSV — the underlying data, for detailed analysis
Data freshness
Widget data reflects the state of the Dashboard when the page was last loaded.
Charts that plot values over a period, such as the revenue chart, include a date range control; changing it reloads that chart for the selected period.