Starting the wizard
From the stations control panel, click the + button and choose Add
Station (see section 4.1) to open the station wizard at
/stations/add-station. The wizard walks five steps — Model,
Details, Location, Pricing, and Summary — and registers the
station in one pass. The station is not yet usable at the end of it; see
section 4.4 for the step that brings it online.
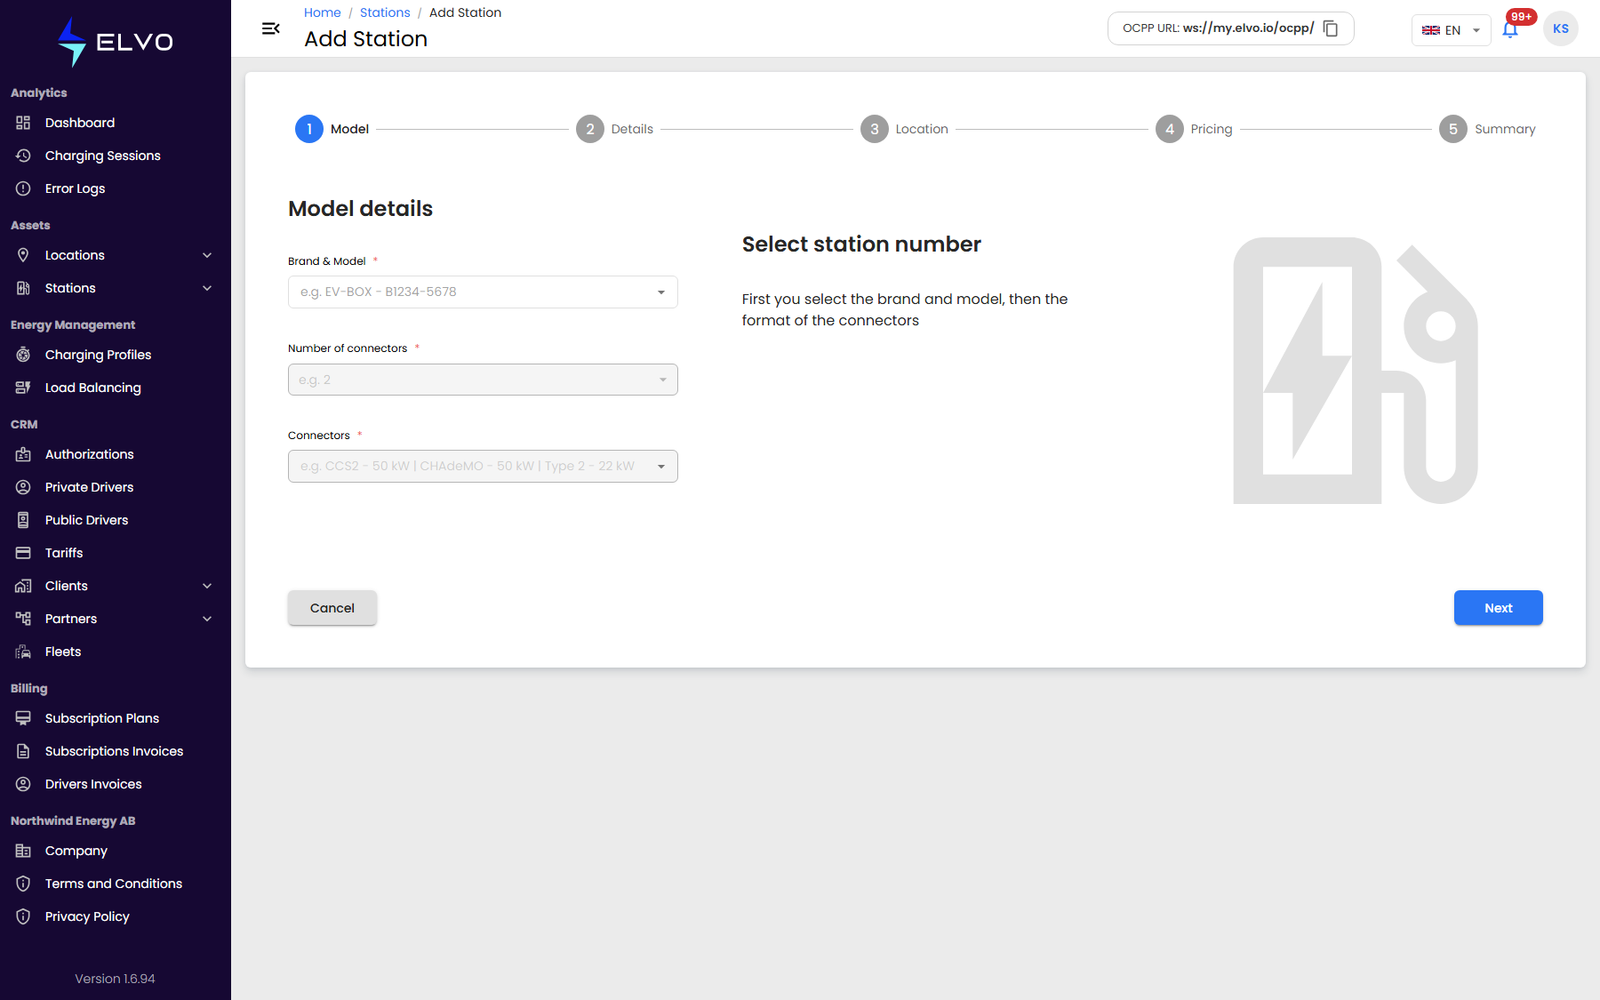
Step 1 — Model
Select the station’s Brand & Model, the Number of connectors, and the Connectors format (for example, Type 2 - 22 kW or CCS2 - 50 kW). The formats offered follow the model you picked.
Step 2 — Details
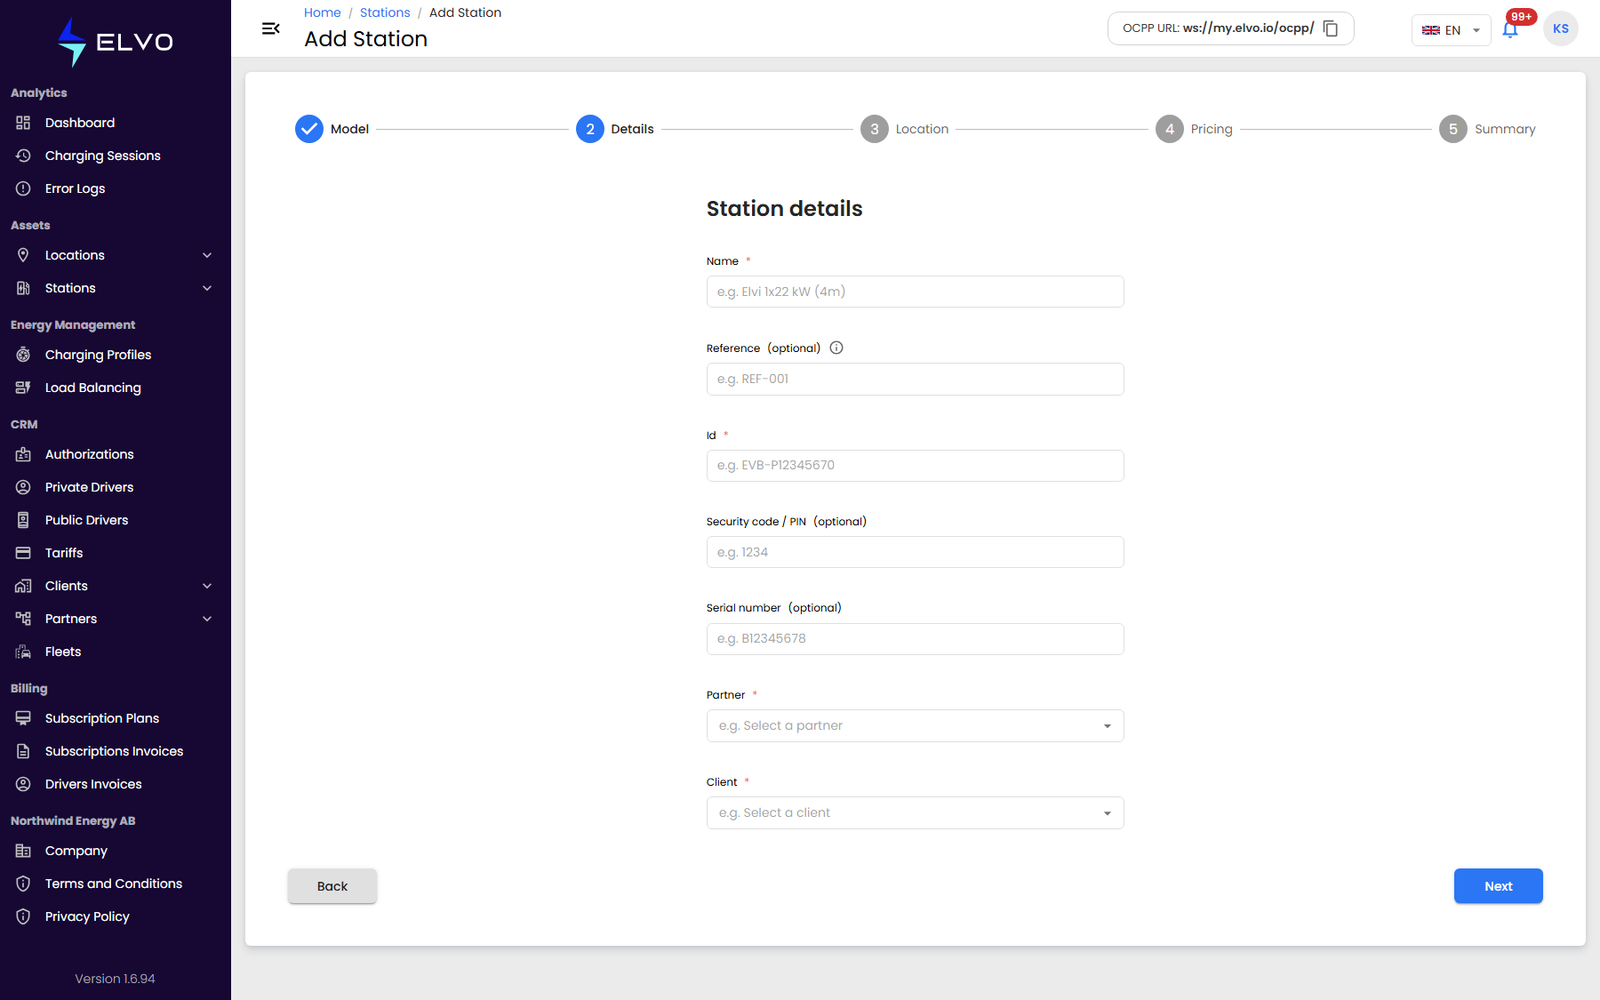
Enter the station’s Name and Id, plus the optional Reference, Security code / PIN, and Serial number, then select the Partner and the Client the station belongs to.
The Id is not just a label: it is the identity the physical station must give when it connects to the platform, so note it down. A station whose configured identity does not match this Id exactly never connects (see section 4.4).
Step 3 — Location
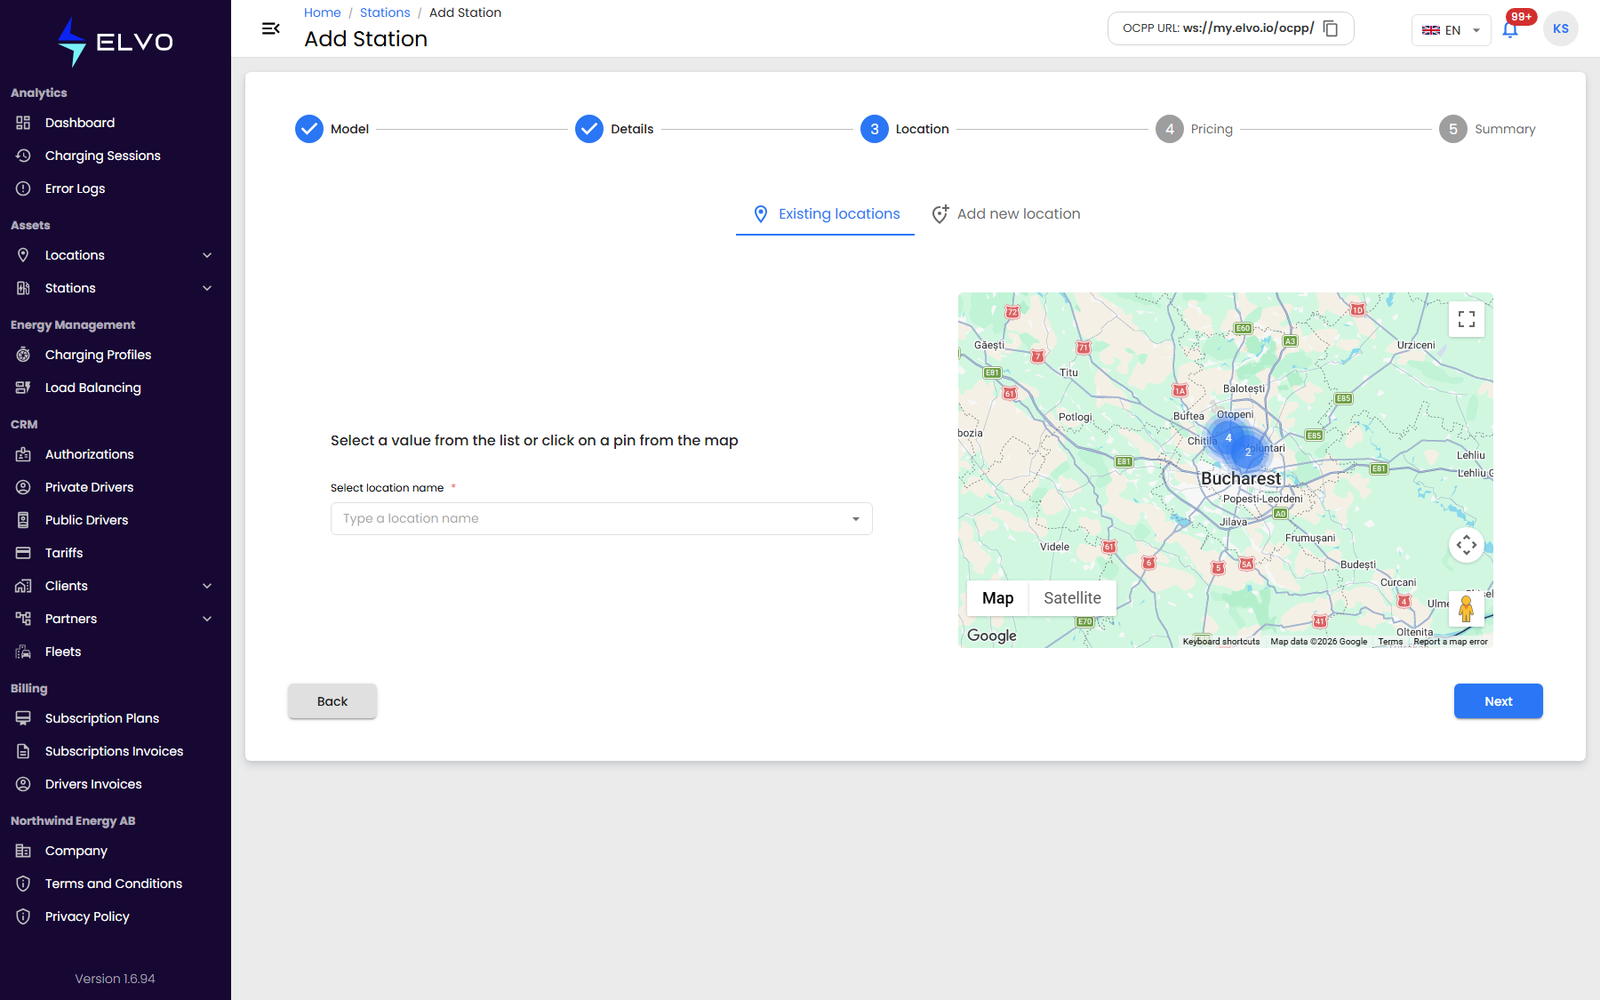
Pick one of your Existing locations — type its name or click its pin on the map — or switch to Add new location to create one on the spot (the same fields as section 7.2).
Steps 4 and 5 — Pricing and Summary
Set the station’s pricing, then review everything on the Summary step and confirm to add the station. You can click Back at any step to adjust earlier entries; the wizard keeps your progress.
The station now appears in the stations list with the status Not activated. Section 4.4 covers what to configure on the station itself to bring it online.
If something goes wrong
- Required fields are validated as you move between steps; the wizard blocks Next until the fields shown in red are fixed.
- If the platform rejects the submission — for example, a duplicate station ID — an error message explains why, and you can adjust and retry.