Starting the bulk flow
From the stations control panel, click the + button and choose Add
Multiple Stations (see section 4.1) to open the bulk flow at
/stations/add-multiple-stations. The flow has three steps — Download
Excel Template, Upload Excel File, and Summary and Import Data —
and registers every valid station in one pass. The stations are not yet
usable at the end of it; see section 4.4 for the step that brings each one
online.
Step 1 — Download the Excel template
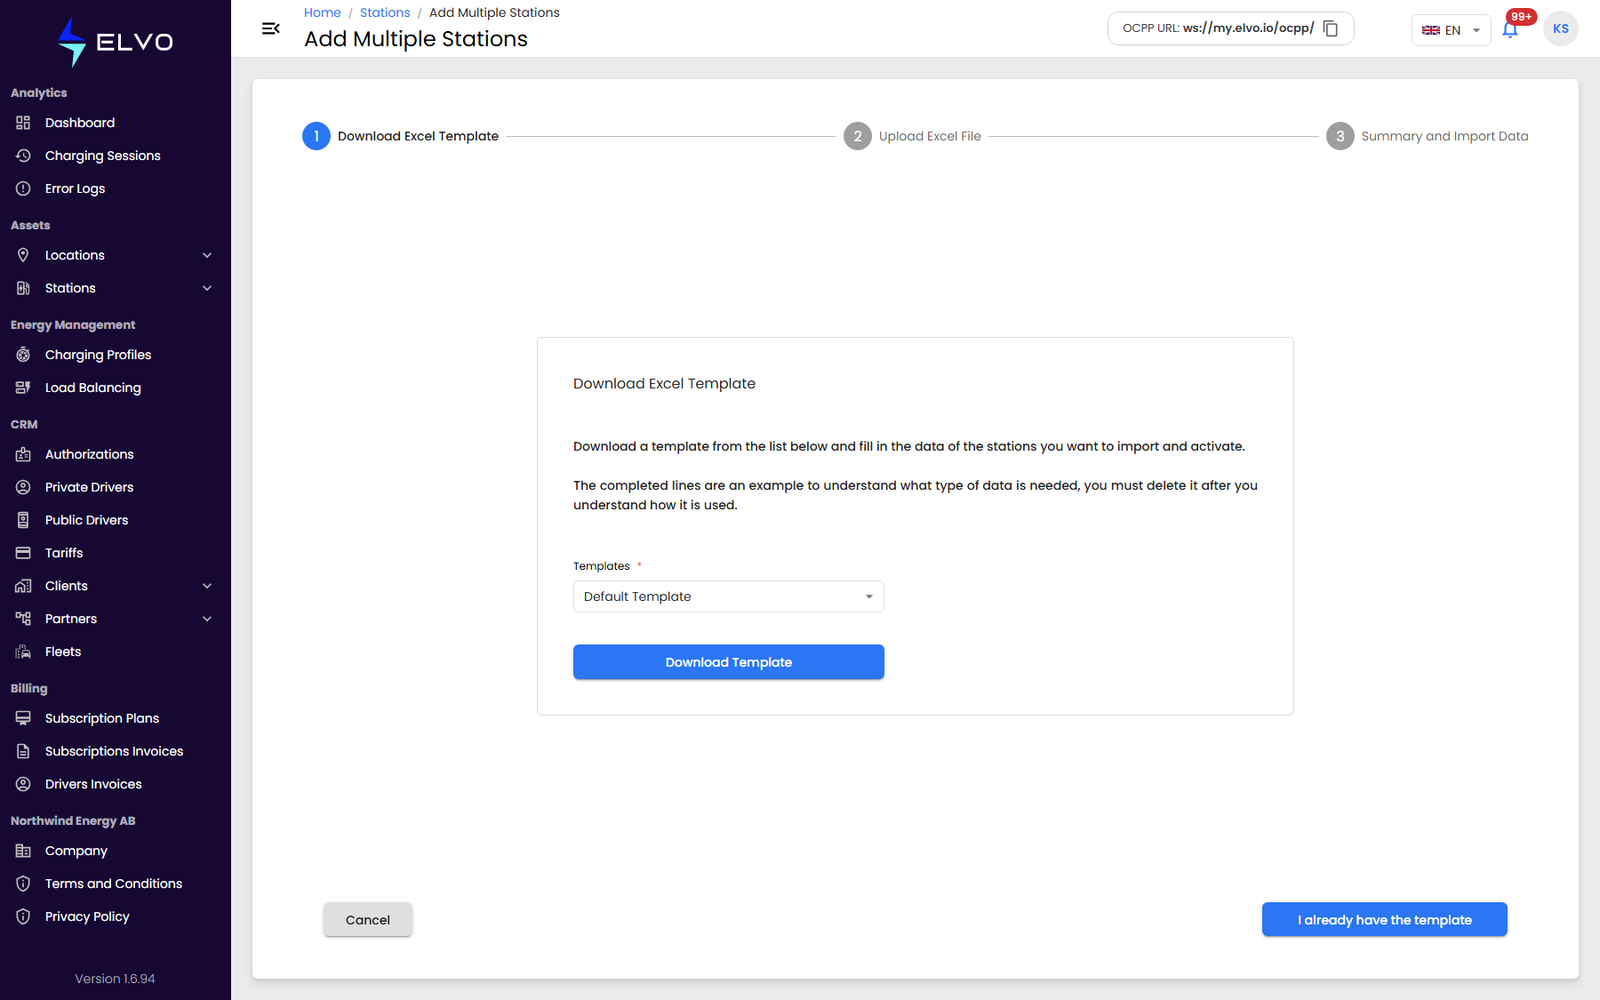
Pick a template from the Templates list (Default Template, unless your operator provides others) and click Download Template. Fill in one row per station. The template ships with completed example rows that show what each column expects — delete them once you understand the format. If you already have a completed file, skip ahead with I already have the template.
Step 2 — Upload the file
Upload the completed file. It must be a .xlsx or .xls file, under
50MB, with up to 4,998 rows, and its column headers must match the
template exactly. The platform first checks the file’s
structure, then validates every row — confirming that each station is not
already registered and that the referenced model, client, and location
all exist.
Step 3 — Summary and import
The summary lists every row from your file with its validation result. Rows with a problem are marked with the reason — for example, “Station ID already exists” — and are skipped when you confirm; only valid rows are added.
Every station added this way appears in the stations list with the status Not activated. The station ID you gave each row is the identity that station must use when it connects, so keep the completed file: you need those IDs when configuring the hardware (see section 4.4).
If something goes wrong
- If your file’s column headers do not match the template, the whole import is blocked before any row is processed, with a “Template format does not match” message. Download a fresh template and try again.
- A file over 50MB is rejected at upload.
- Rows with errors are skipped when you confirm — only valid rows are saved. Fix the failed rows and re-upload them separately.
- A network error during upload shows a “Server unavailable” message and keeps your selected file in place so you can retry.