Where to add a client user
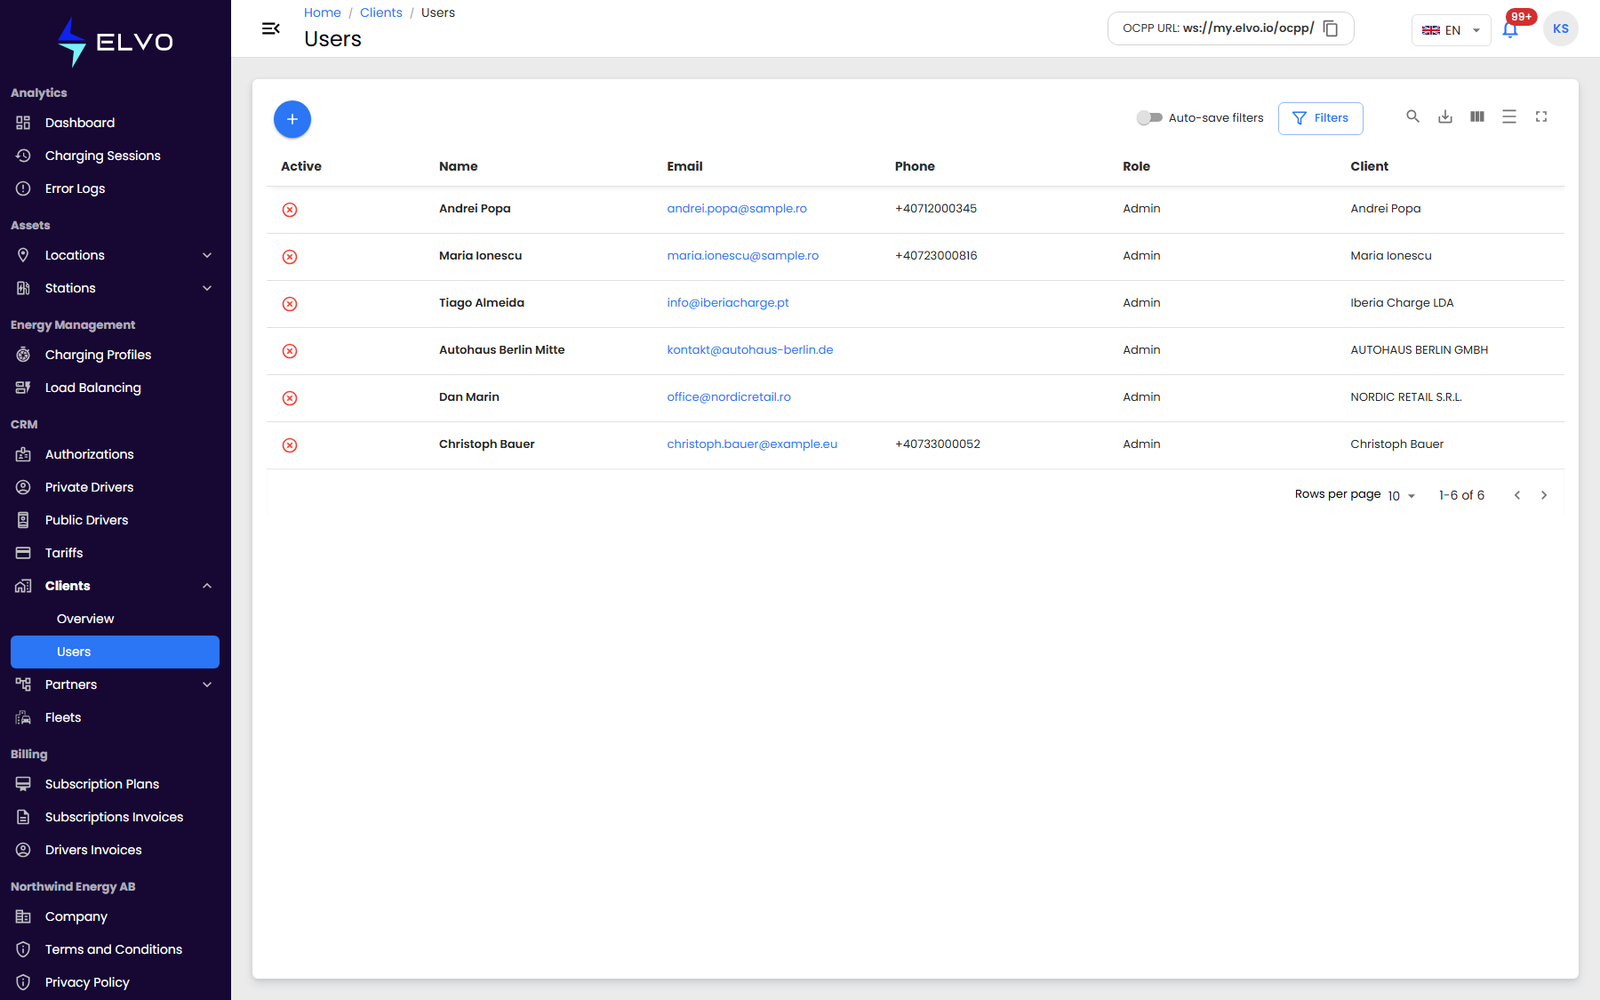
A client user is added using the same Add User form described in section 17.1: from the sidebar, open CRM, select Clients, then switch to the Users entry — this page lists every client user across all your clients, with their Active status, name, email, phone, role, and client. (A client’s own detail view has no Users tab — this page is where client users live.)
From the list, click the + button to open the Add User form.
Filling in the form
The form fields are the same as described in section 17.1: Email, First name, Last name, Phone, and Role.
- {tier: enterprise} A Client selector also appears, letting you choose which client the new user belongs to (see section 17.1).
- The Role list is filtered to client-tier roles — client-superadmin, client-admin, or client-superauditor (see section 19.2 and section 17.2 for what each role can do).
Fill in the fields and click Save.
If the email is already registered, the platform shows an error instead of submitting. An invalid email format is flagged inline, and the form blocks submission until every required field is filled in.
After you submit
Saving shows a confirmation and returns you to the Users list, with the new user’s row highlighted. The new user then receives a confirmation email to activate their account (see section 17.1).
Editing or removing a client user is covered in Part 17.